We’re beginning to get excited about the Easter holidays. All the family together and, with the arrival of a new member in the family my sisters 3rd child and 1st daughter there’s even more to be excited about. I can’t wait for all the silliness to begin and whilst on the hunt for alternative easter gifts we’ve curated a collection of ideas for all the family.
here’s some of our favourites to turn the garden into a fun hunt, to hide in egg shaped easter tins, among the flowers and hung from low branches or behind the daffodils:
As you go about your busy days in London look out for some pretty impressive decorated eggs hidden around the capital. An incredible egg hunt is taking place running until 3rd April and everyone is invited to discover and see over 200 painted and decoarted egg sculptures here in London.
The incredibly decadent, legendary jewellery brand Faberge have invited artists and designers, architects and jewellers to design a collection of 2.5ft tall eggs that have now been spread accross the capital. This fun and creative initiative is all done in support of the charities Elephant Family and Action for Children. The Big Egg Hunt hopes to raise more than £2 million for the charities and we applaud the concept with excited children in tow ready to go on the hunt!
You could be in the running to win a the Diamond Jubilee Egg just by texting the 'key word' at the egg you find. The more eggs you find, the more chances you have at winning. But, that's not all, if you've enough pennies in the bank you can bid on 'Le Collier Plume D'Or, or bid on one of the unique eggs from the hunt!
This is set to be a record breaking egg hunt and no matter how you chose to take part its an egg hunt too good to miss.
So, grab your maps and get hunting and help raise money for two very worthy charities in the process.
This is part of 'The Art of Living' collection. We also have other stories and features including our 'Monday Makery', 'I Spy' and our weekly 'Wedesday Woo'.
If you'd like to receive our weekly newsletter to receive offers and news and find out the about our new collections sign up below.
This Monday we bring you a collection of six Easter ideas, with decorations to make and new traditions to begin. We hope you enjoy them and give them a go. Though some people believe that there are creative types and those that aren't, I'd like to say that there is no truth in it: everyone has a creative side. I'm an absolute beginner when it comes to crafts so if I can do them anyone can. Though the results are rarely as polished as I imagine they could be, my children love that we all have a go and it's so much fun and sometimes they work out perfectly.
Decorative Hanging Birds
Planning to bring our Easter lunch into the garden we wanted to make decorations to hang from the branches above us. We have a very small garden probably quite typical of a london house and it would need some more colour and decorations to make it look welcoming. These little birds are delicate and pretty and lovely to make. You could hang them by themselves or use small twigs or chopsticks to create a mobile. As we are using lots of different decorations including our blossom tree and bunny bunting and our chandelier of colours we made them to hang from single strands. Perhaps these can answer the quesition of what came first - the chicken or the egg? I do love the irony of this hollow egg with wings.
You'll need:
Eggs
PVA glue
coloured preferrably patterned paper
beads or buttons
Scissors
An elastic band (not essential but does make it a whole lot easier)
Here's how we did it:
blowing the eggs:
Wash the eggs with soapy water - you're going to be blowing them and its better they're clean.
Push the needle into the top of the egg making a small hole. Do the same to the bottom side too.
Holding onto one end of then needle slide it inside as far as you can and give it a good wriggle. This will break up the yolk inside so it'll come out when you start 'blowing'.
Now making a seal around the top end of the egg hold the egg above a small bowl and blow hard. Keep blowing until all the egg has been forced out.
Now for decorating:
After painting the eggs and letting them dry cut an oval shape from coloured or patterned card.
Stick the oval to one side of the egg - this will be its breast.
Taking some of the same card cut a 4" square and fold over and over back and forth to create a concertina shape.
Thread your needle and tie a knot on the end. Then pull through all the folds at the centre of the concertina adding a couple of stitches in the centre to hold the it together firmly.
Thread a bead above it. Using a more generous dab of glue beneath the folded card place the 'wings' on top of the card. To ensure it doesn't slide off whilst waiting for it to dry secure it with a rubber band around the side.
Once dry remove the band and make the tail by cutting three different sized pieces of same card and sticking each one on top of the other over the blowhole at the back of the egg.
Cut a small triangle for the beak folding over the largest side to use as your adhesive strip and bend the card in half to form a smaller triangular shaped beak. Apply the glue and stick at the front of the bird.
Lastly cut 2 small circles for eyes and stick in place above the beak.
Your bird is now ready to hang.
I discovered the idea for the egg mobile in decorating eggs book by Deborah Schneebeli-Morellthere are 15 great ideas for decorating eggs and if you liked this idea then I highly recommend this book. Though for some you may need special craft materials its great for visual inspiration and you can adapt the ideas to suit both ability and materials.
Papier Mache Eggs with Hidden Treats
We made more Easter decorations using papier mache and polystyrene eggs. Undecorated papier mache Easter egg shells come in two halves that fit together to make a special box. They are made with layers of card and so are very strong and great for little hands to be creative with. We painted them with vibrant acrylic paints and then decorated them with images of easter painted black to give a silhouette, felt flowers and pictures from magazines. It was quite a small amount of effort for such a beautiful result. Once they were dry we filled each one with treats and surprises, childrens jokes and the words for the game 'what am I?'.
Fabric covered Egg Decorations
We made fabric covered egg decorations using polystyrene eggs, scraps of fabric and pieces of ribbon. They look beautiful hanging around the house and look quite luxurious too. These were trickier to make than those above and Sophia needed lots of help with making them but we enjoyed it together having chosen a time when we both felt patient.
Here's what you'll need:
Polystyrene eggs
Scraps fo fabric and ribbon or ric rac
needle and thread
pins
scissors
beads
Here's how we made them:
Cut 2 pieces of fabric both a little larger than the egg.
lay one piece over the egg and pin it roughly around the half way line. Repeat with the other piece of fabric on the other side. Then cut off any excess fabric.
Thread the needle and start to sew together the two pieces of fabric as though lacing a corset and fasten off.
Measure the length of your ribbon or ric-rac around the join in the fabric. Cut and pin into place.
Sew the ribbon in place leaving the thread at the tip of the egg.
Make a little ribbon rosette by folding a length of ribbon back and forth into loops. Then thread onto the top of you egg securing it with a few stitches back and forth.
Now take enough cotton to use for hanging you decoration. It works best to double up the thread so that when you finish you have a large loop in which to hang it. Sew under the rosette and through the top so the egg hangs from your thread. Now your ready to thread your beads and anything else you might like to add.
Papier Mache Eggs with Five Wishes
With these papier mache egg moulds I wanted to create something a little special. Though not religious, Easter for me is a time of renewal brought on by the start of a season that see's new flowers grow, blossom on the trees and a fresh feel to the air. A time that symbolises the start of spring. A season that brings new hopes, new dreams and new adventures. I thought about the things I would hope for for my daughters and how I would like to give these wishes to them. So that's what I did.
Inspired by a memory I have of watching Danny Kaye (my love as a child) in the 1959 film the five pennies and how beautiful and tender I thought it was even at 5 years old.
Here's how I made them:
I lined the inside of the Papier mache eggs with a photocopy of the girls birth certificates. Scanning them into the computer and printing them onto coloured paper.
Then using a mix of pva glue and a little water I stuck the torn pieces of the paper to the inside.
I decorated the outside with fabric I took from my sentimental bundle of their clothing they had worn as babies. I'm saving the pile for making a patchwork quilt but not much was needed for this so I pinched a little. To avoid creases and folds in the fabric I cut two small oval shapes and covered the gap with a further strip of fabric. Finishing it off with a little ric-rac, ribbon and lace.
I painted the wooden eggs in soft shades using acrylic paint and once dried I wrote the key words; wish, dream, dance, laugh and love on the side of each egg. I chose small wooden eggs with threads so that they could be part of the decoartions on our blossom tree and be hung again each year. I will also place inside five pennies for them to keep as reminders of the important things in life. There seemed also to be a feeling of symbolism in hanging the wishes and then returning them to their coccoon to keep safe. Adding to the idea that they will be objects they keep into adulthood and be the start of a new tradition.
This little penny is to wish on
And make your wishes come true
This little penny is to dream on
Dream of all you can do
This little penny is a dancing penny
See how it glitters and it glows
Bright as a whistle
Light as a thistle
Quick, quick as a wink
Up on it's twinkling toes
This little penny is to laugh on
To see that tears never fall
This little penny
Is the last little penny
And the most important of all
For this penny is to love on
And where love is, heaven is there
So with just five pennies, if they're these five pennies
You'll be a millionaire
Miniature Flower Cups
This is such a simple idea taking minutes to make and has such a beautiful impact on an Easter table.
Take a coloured piece of paper or card and draw a simple outline of a flower onto it.
Cut the flower out and stick a cupcake case in the centre.
Now its ready to put little treats inside. Alternatively, you could use them to make Easter Cards or hang them for wall decorations.
I discovered this idea from Martha Stewart: the one and only queen of crafts. There are lots of ideas on the website for easter and all year round. Though for some you will need special craft materials you can always adapt the ideas to suit your materials.
The Clue Is In The Egg!
Finally, its time for the Easter Egg Hunt. This is the part the children get really excited about. Searching for clues, discovering eggs and filling a basket with all that they find. This year I decided that rather than hiding a copious amount of chocolate egss for the children to find I thought they would be old enough to find the eggs by discovering clues. Though clues are never such an exciting thing to discover so we have made decorated eggs with the clues hidden inside. The children will have to find the eggs and crack them open to discover the clue needed to find the next one until finally thay find the golden egg leading them directly to the big choclate egg prize!
Here's what you'll need:
eggs
a needle
bowl
acrylic paints
paper
Here's how - Blowing the Eggs:
Wash the eggs with soapy water - you're going to be blowing them and its better they're clean.
Push the needle into the top of the egg making a small hole. Do the same to the bottom side too.
Holding onto one end of then needle slide it inside as far as you can and give it a good wriggle. This will break up the yolk inside so it'll come out when you start 'blowing'.
Now making a seal around the top end of the egg hold the egg above a small bowl and blow hard. Keep blowing until all the egg has been forced out.
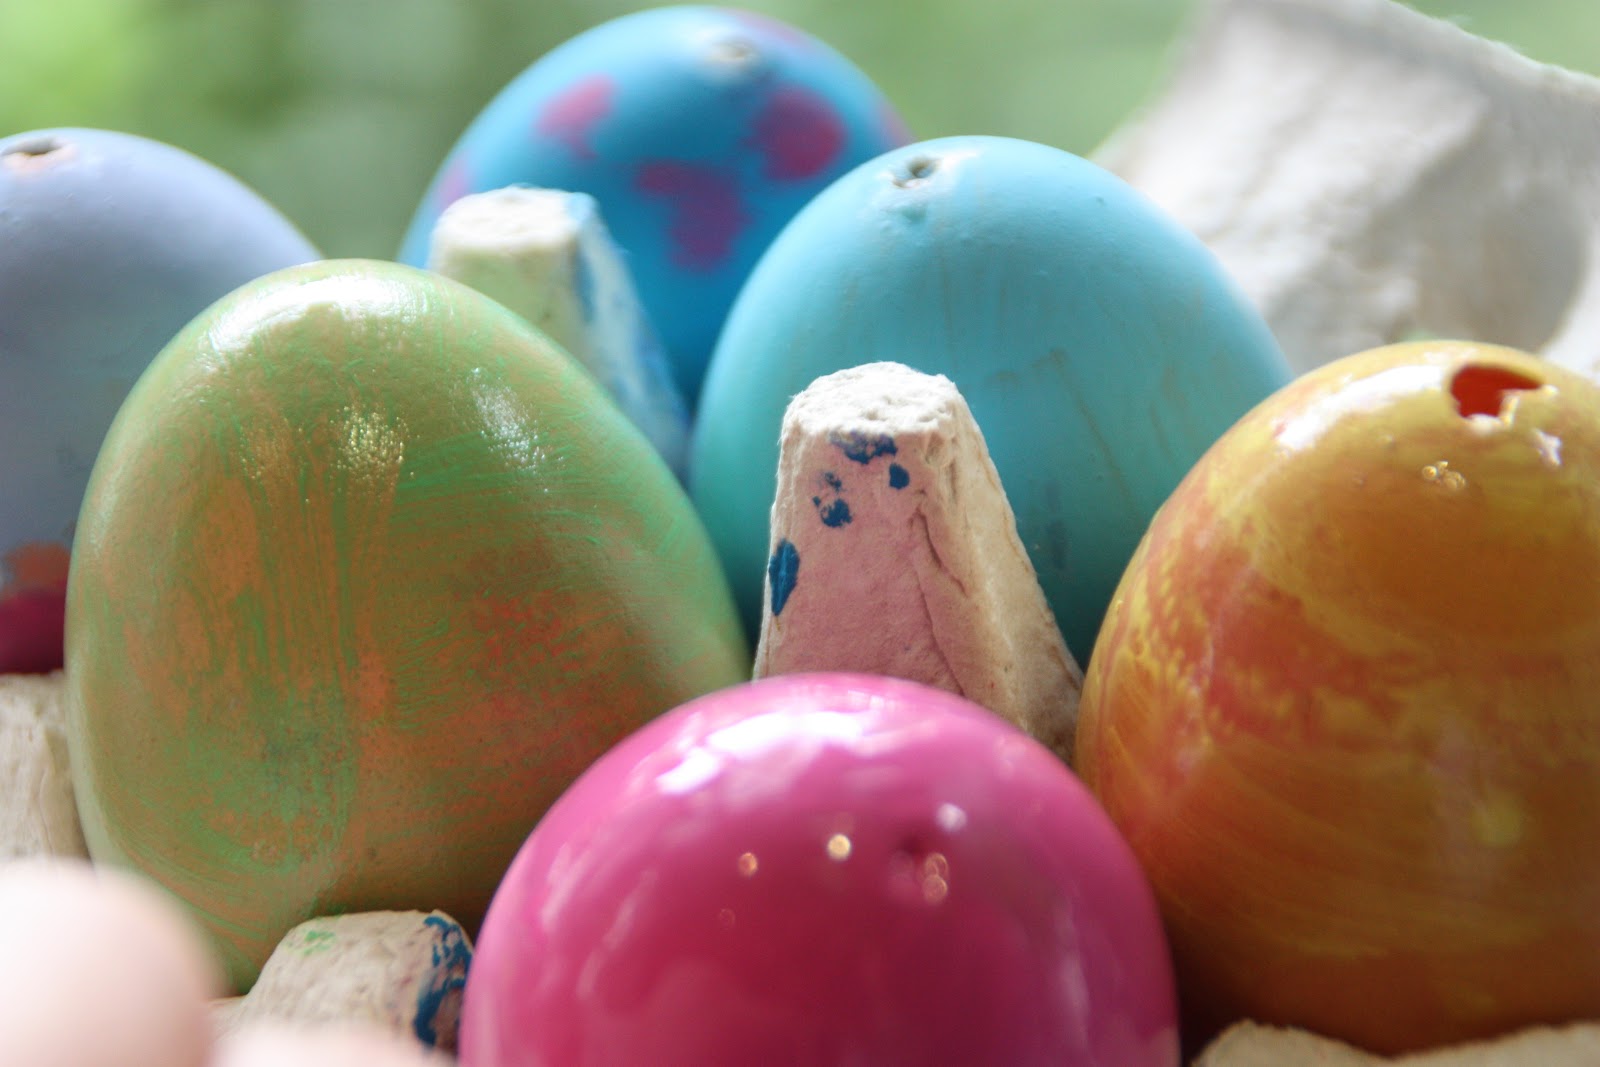
Repeat until all your eggs - we made six - are empty.
Wash the inside of the eggs with soapy water filling the eggs giving them a good shake then blowing them again - you're going to be placing notes inside and cracking them open later - so again best they're clean.
Now for the decorating:
We found it easier to do the decorating in 2 stages. We placed the eggs in egg cups and painted the top half of all six. Then once they were dry we turned them and painted the bottom half.
Whilst the paint dried we wrote our messages and clues on small strips of paper, rolled them up as tight as we could and making one of the end holes a little larger (wriggling a pencil tip into the hole) we posted them inside.
We placed them back in their original egg box with a new label stuck to the top marked 'The Clues'. Sophia loves the disguise and secrecy of it and feels very grown up that she was part of what is normally 'the grown up' part of the hunt. Now the girls are getting excited about their favourite part of the afternoon and feel proud they had a part of preparing for a very special event.
Secretly when the children had gone to bed I got busy with their Easter Gifts. Having managed to hide the very large versions of the papier mache egg shells I pulled them from their hiding place and started to decorate each one. I used emulsion paint we already had to give them a good thick coat of colour. I decanted a small amount and added a little acrylic paint to give each of them a different delicate shade. I used classic duck egg blue for Oona (aged 2) and Gabriel (aged 3) and a little soft pink for Sophia (aged 4). Once the paint was dry I added ribbon around the central edge of each half of the eggs using good old faithful PVA glue. Inside I place gifts and chocolates.
For Gabriel I chose the new Alex Rabbit by Maileg, whilst the girls already have quite a community of them I chose new clothing for 'Coco' and 'Beau' wrapping them in cerise tissue paper and lots of ribbon. I also added to each capsule a small coloured envelope with their 'five pennies' inside along with a card with the words of the lullaby. The girls also received painted wooden eggs with the words play, sing, skip, read and imagine. Whilst being sweet sentiments I thought we could also use them in a game. Finally came a sprinkling of edible goodies and a big bow!
Wishing you all a very Happy Easter from us sisters at Sisters Guild and our chocolate faced children.
*for those of you looking to find the materials used here in this makery I found all I needed and so much more here.
This is part of our 'Monday Makery' series of blogs, bringing a few simple ideas and inspiration for getting creative. If you'd like to take part or be a guest blogger do feel free to send us your makery.
For the first time ever we (the Brighton household of Sisters Guild) are going to be in London rather than the West Country for the Easter weekend and it does fill me with excitement. I've been looking up some places to go in London and wanted to share them with you.
There's an Easter Egg Hunt on Easter Sunday at Kew Gardens which involves collecting tokens from special hiding places in the gardens. Then the tokens are handed in to the Easter Bunnies (hopefully not too big and scarey) to receive an Easter egg.The chocolate eggs have been donated by Green &Black's (yummy!). It's onEaster Sunday (24 April) 9.30am – 1pm and it's FREE. The Chocolate Workshops and Tasting sounds rather tempting too.
The other place I'm surprisingly keen to head to is the London Transport Museum. It's somewhere I would never have imagined going to before. Having a 3 1/2 year old boy who is very keen on red London buses, I know he'll be in awe of this place and I can't wait to see his face. And I'm genuinely curious about the 'New Bus for London.'
They have some bus-based events for the Easter holidays: Celebrate the Mayor’s New Bus for London which has been inspired by the old iconic Routemaster. Modern, fully accessible, using the latest green technology the static mock-up is on show at London Transport Museum for families to enjoy over Easter. Families can join the Museum’s free fun workshops which include story-telling for our littlest visitors. Find out more here
I've also spotted they currently have a spring poster parade - flutter flutter - I've got quite a thing for poster design, especially vintage travel graphics. These are from the archives of the 1920s and 1930s and feature spring flowers.
I'm not going to be able to resist buying some of the posters available for sale in the museum shop, and online here too - soooooo stunning!
The London Transport Museum is in Covent Garden which means it's then easy to pop across the river to the Southbank where a strolll always means stumbling across something curious and exciting. The Southbank Centre launches the Festival of Britain on Saturday 22nd April with events all summer long. It's in celebration of the 60th anniversary of the Festival of Britain with a four-month Festival of British culture and creativity.
Now there's a whole new post I need to dedicate to that!